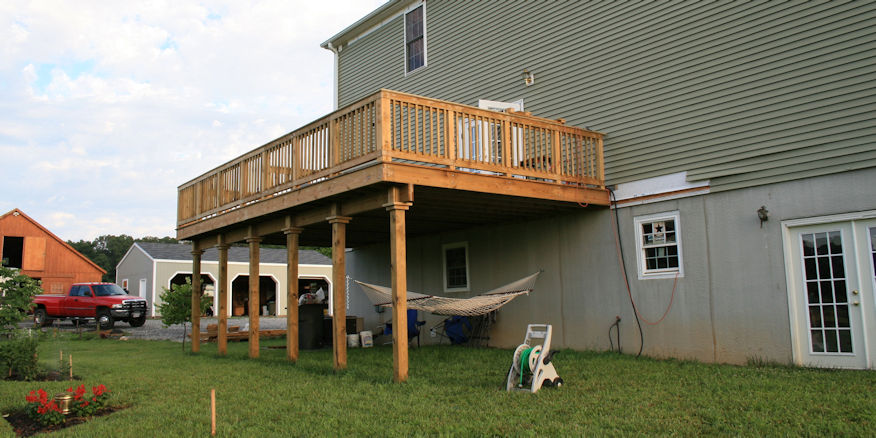
Built entirely of wood in 2008, the deck had become an essential part our living space - mainly as the outdoor kitchen in summer. After ten years and too little repainting, a handful of the deck boards showed signs of decay.
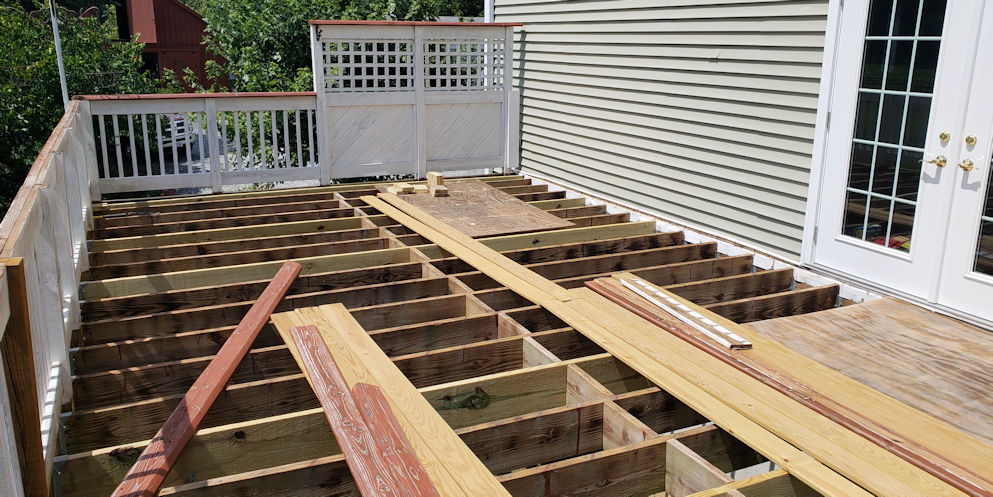
The original plan had been to replace the few rotten boards, and repaint. But when several of the joists underneath were found to have rotten spots too, the plan was suddenly more complicated.
The secondary plan was to replace all the deckboards with new composite boards, replace decayed joists and a few parts of the railing. Halfway through that plan, we learned that composite decking requires more joists, closer together.
So the project came to a full stop while we came up with a tertiary plan. For that we decided to go all-in, replacing anything that was even suspected of having rot, and replacing everything above the frame with composite materials.
False Start - Bad joists had been replaced and additional bracing added. Because the joists are too far apart, this all had to come down.
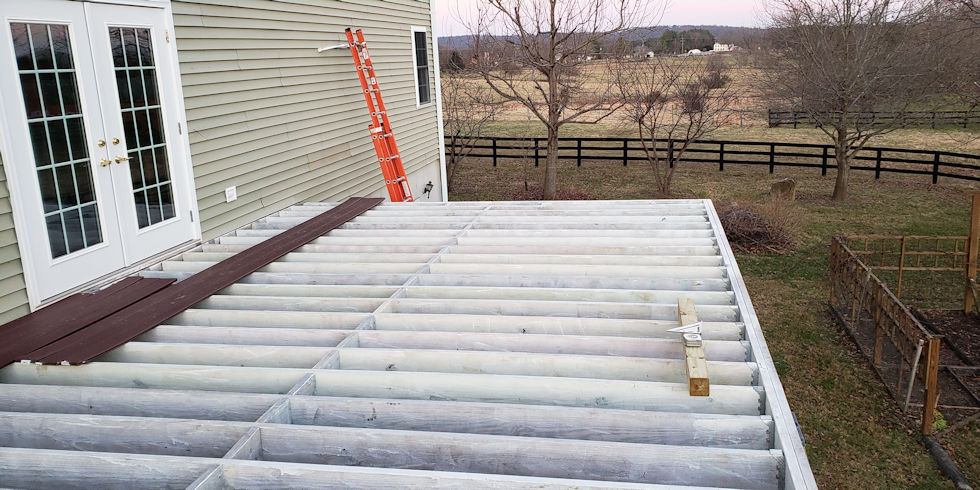
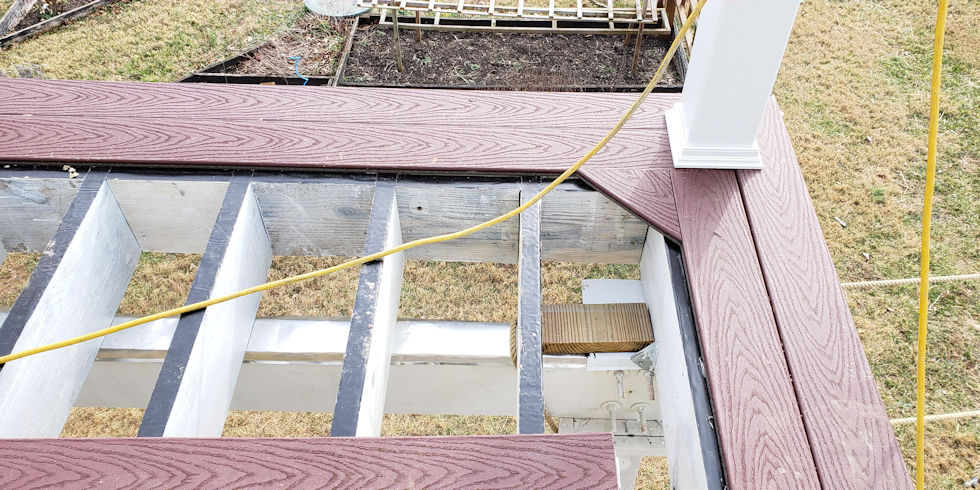
Everything was removed, except the outer fascia. Even the band board (aka ledger board) against the house was replaced, temporarily separating the entire structure from the house.
Fast forward a few weeks, and the joists have all been replaced, coated in waterseal which was tinted white so any untreated spots were detectable. Old railings were simply cut away.
Since the original construction, new products became available to protect the wood structure, like the black flashing tape applied to every upper surface of the frame to protect from water damage and rot.
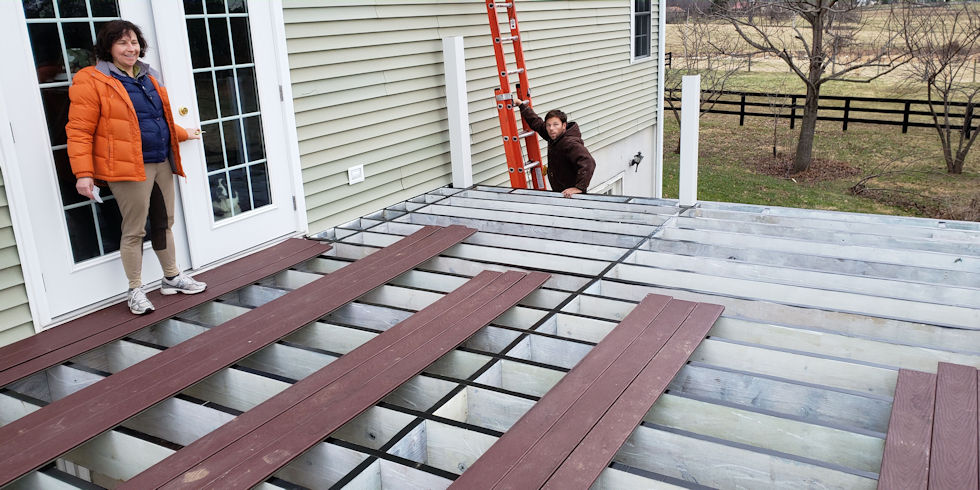
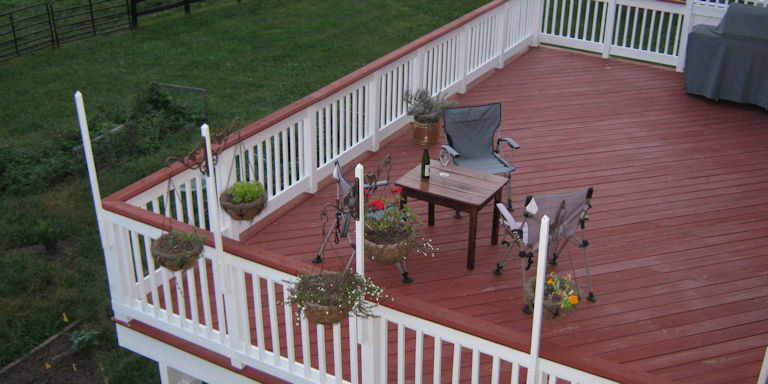
The new decking was to have the same pattern as the original: A picture frame border enclosing a diagonal layout. The new rail posts were added, wood posts encased inside composite sleeves.
After the picture frame border was done and as the railing is being installed, the process of adding the diagonal boards could begin, starting with this little triangle corner stone.
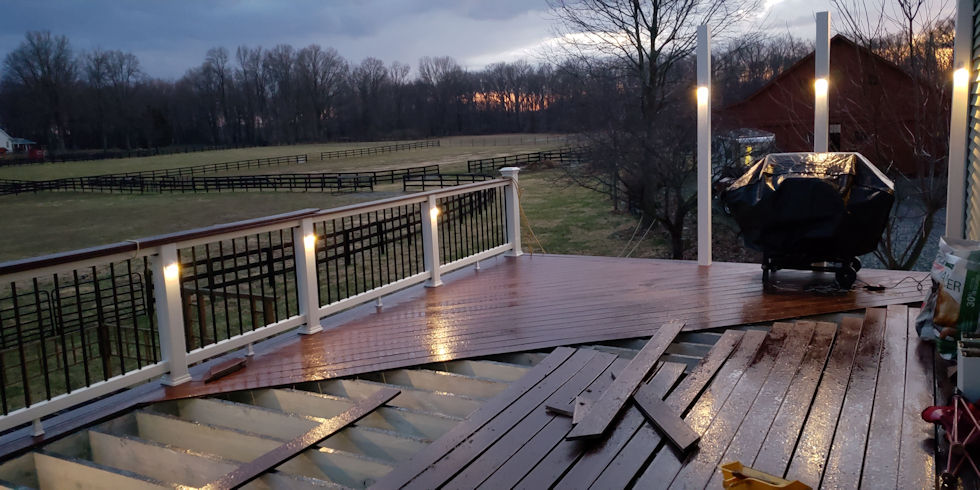
The new composite railing features black ballusters, which are easier to see through, and LED lights to provide improved visibility at night.
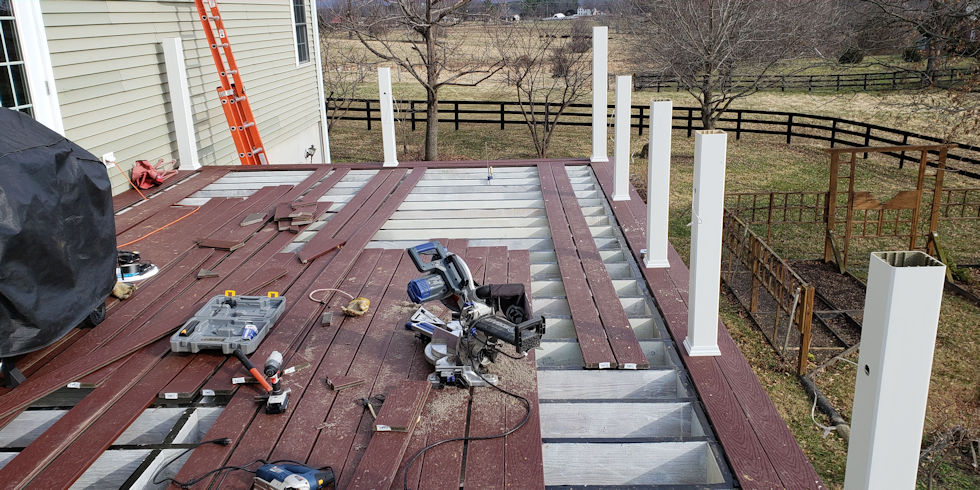
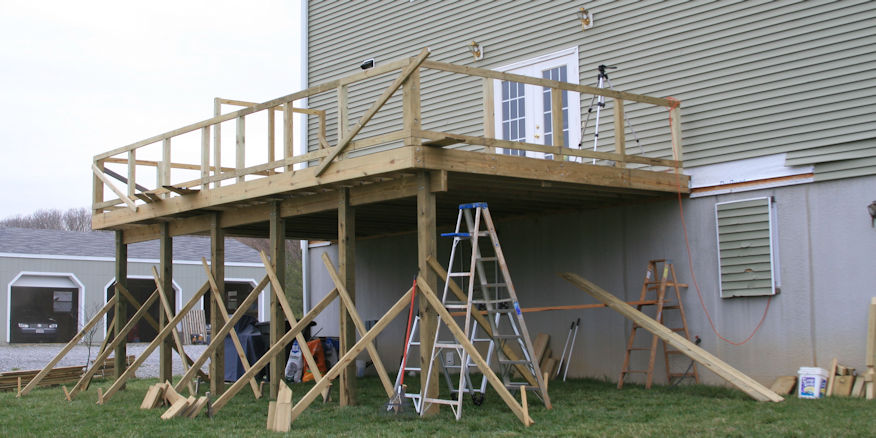
Fast forward another few weeks and the decking is attached, along with all the railing on the east side, shown here.
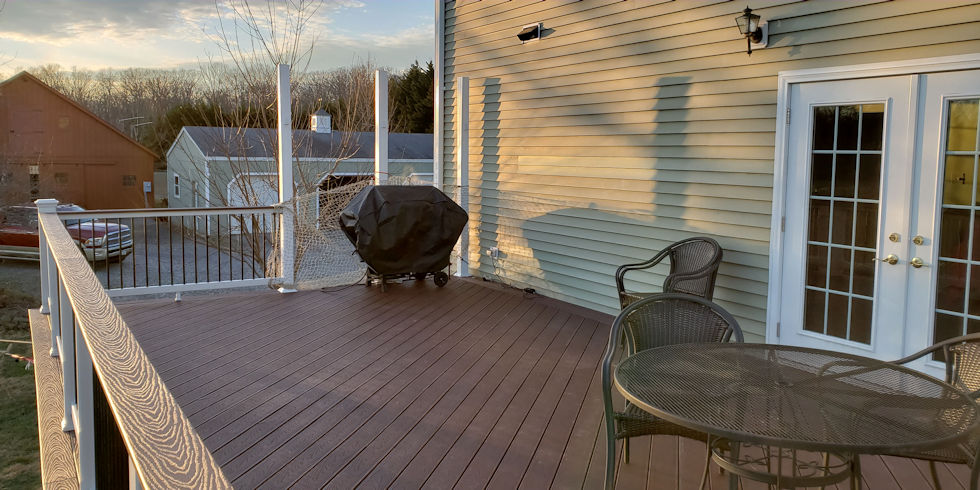
Looking toward the western side, everything is complete except the tall wall, a solid barrier to shield the grill from the prevailing, western wind. That would require custom building.
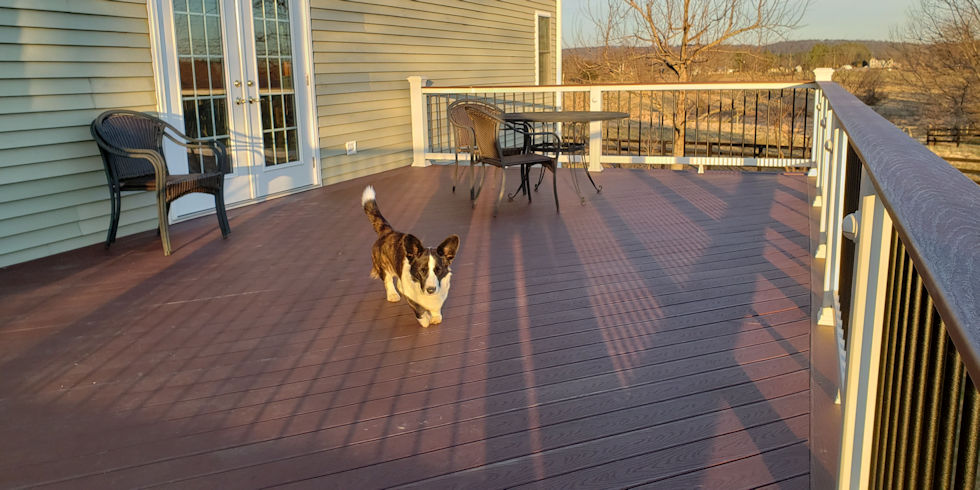
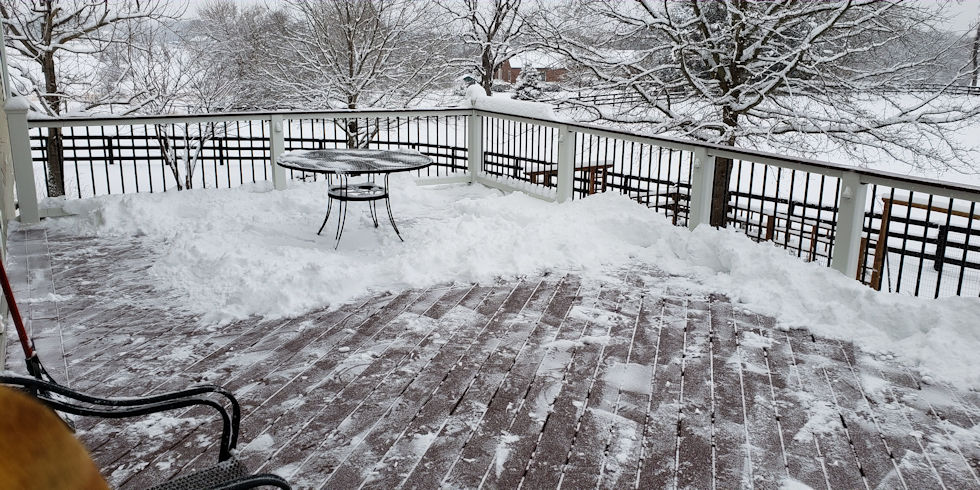
Just two days after the decking was completed, Mother Nature deposited more than ten inches off snow on the surface. The new composite deck surface, however, is more uniform and easier to clean.
Last updated: 2019.01.17
Deck Project 2008
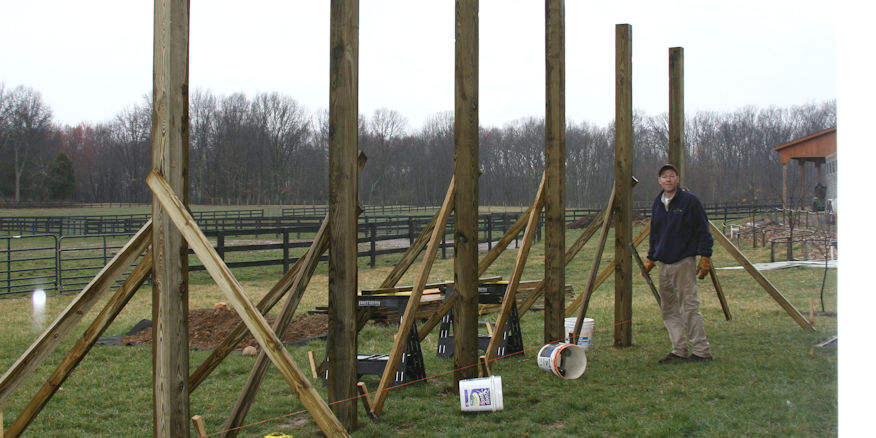
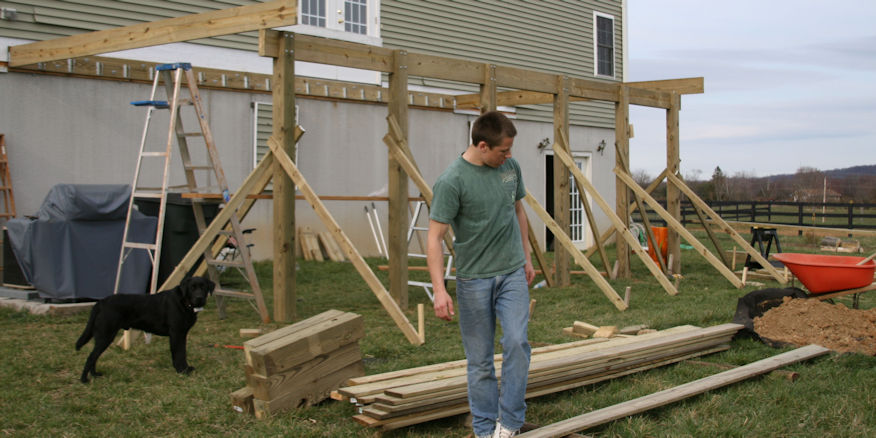
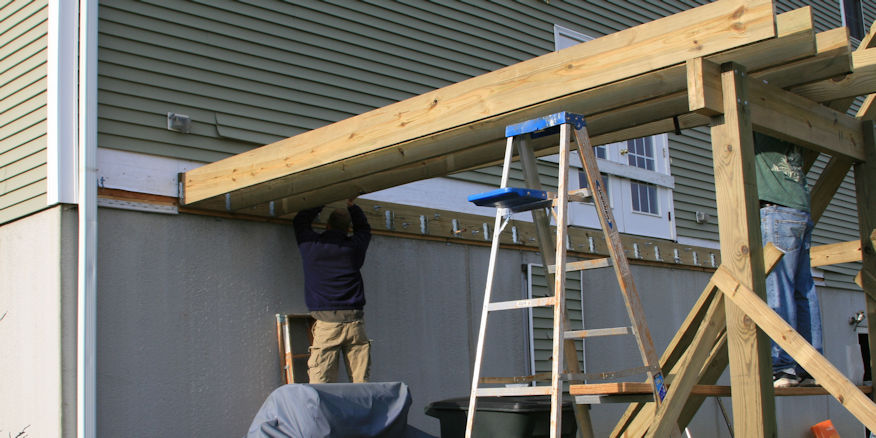
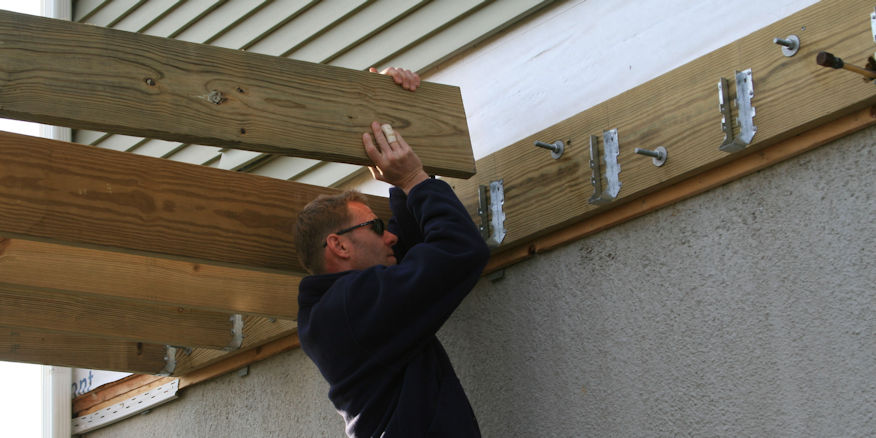
The deck plan was based almost exactly on the county specifications, a simple rectanglar structure attached to the house, with a short cantilever over a single row of columns.
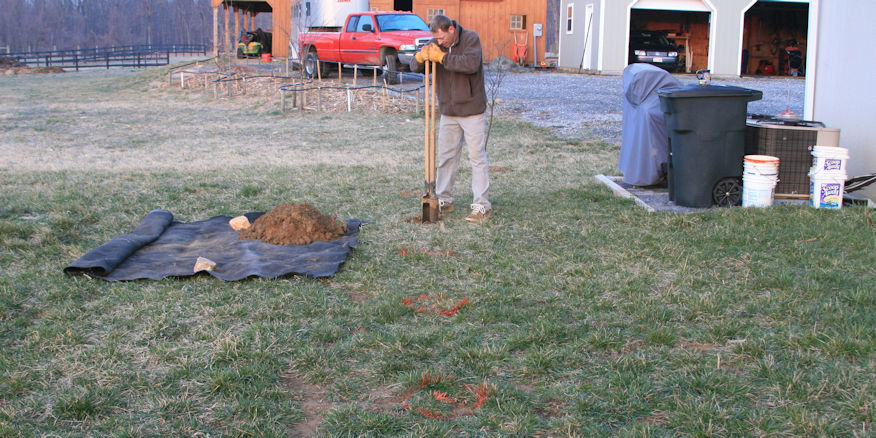
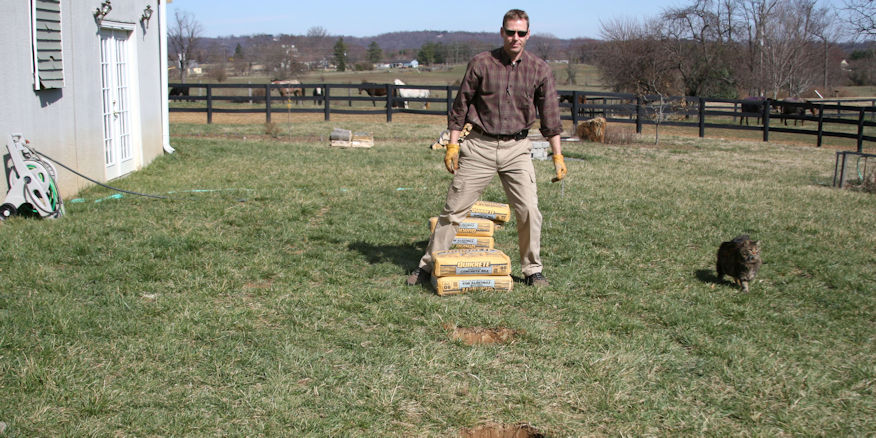
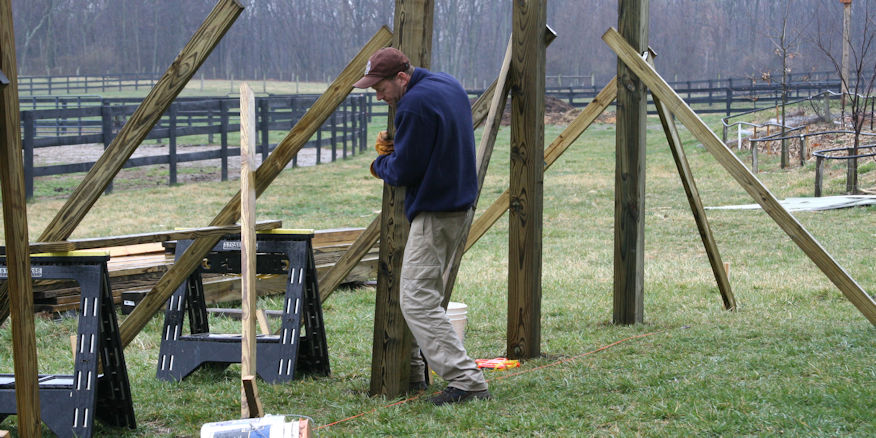
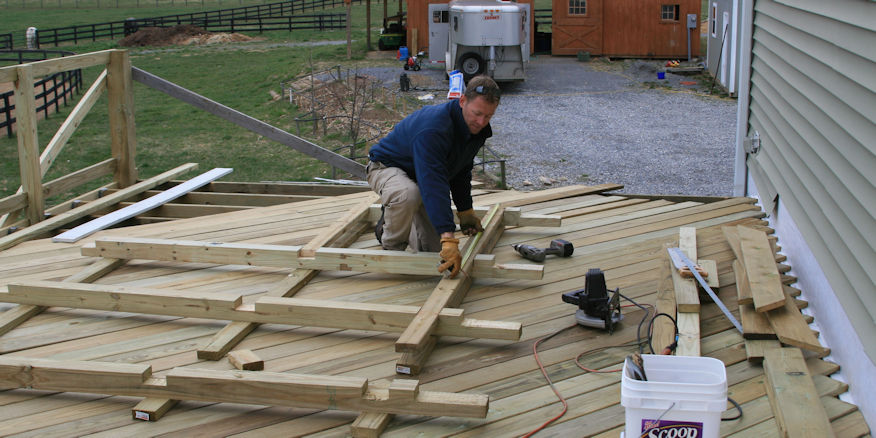
After marking the places where the posts would go, the next step was to dig the holes.Having dug the holes and getting them inspected, concrete is added as a footer at the botttom of each hole.Once the concrete footers are dry, posts can be set in the holes, then braced.With the posts installed, they are checked with a level to ensure they are perpendicular, then the holes can be filled.The band board (aka ledger board) is attached to the house, the posts are notched, and the main beam is bolted into place.The two outer-most joists are added and the frame is squared-up.The joists can then be added...in this case, on 16 inch centers.The deck takes shape when all the joists and front fascia are attached.A few deck boards on top creates a work space to cut and assemble the railing.The completed rail frame is ready to take ballusters.Before continuing with the rail, the deck boards are attached diagonally with a picture frame border.With the decking completed, the ballusters and cocktail rail can be added.The nearly completed deck.The completed deck, in all it's original glory, with a fresh coat of paint.